Welcome Launch
Ready for rocket science? Watch the launch of a satellite and get to know the latest advancements in rocketry.
Launch your own satellite simulator and learn how to operate it.
Jump to Satellite Simulator activity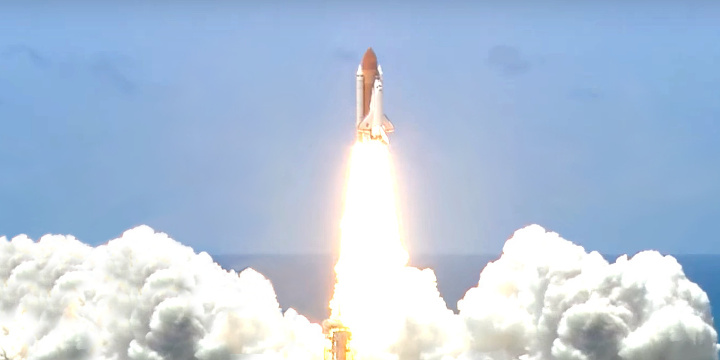
Ready for rocket science? Watch the launch of a satellite and get to know the latest advancements in rocketry.
Launch your own satellite simulator and learn how to operate it.
Jump to Satellite Simulator activity
A rocket launch is usually preceded by a countdown:
Rockets are capable of putting spacecraft in space. The rocket technology enabled the Space Age by providing access to space using rocket engines that can propel heavy payload upwards. This technology is less than a century old and flying above 100 kilometers was only achieved with the V-2 rocket in 1944.
Rockets are not always successful and sometimes they insert the spacecraft in the wrong orbit, or in a worst-case scenario, they explode in mid-air or right on the launch pad. Some rockets are multi-stage, with two or more stages that work sequentially in order to put the spacecraft in space. Each of these stages contains its own engines and propellant.
Recently, rockets have become reusable and some of the parts of a rocket can fly back safely to earth’s surface and land on a platform. This was demonstrated by SpaceX and it enables more frequent launches which will decrease the total cost of a space mission launch.
Before the launch of a satellite, the mission goes through many different phases: Mission analysis and identification, feasibility studies, preliminary definition, detailed definition, qualification and finally, the production of the satellite. Some missions even require new technology that currently does not exist and so, new instruments are developed completely from scratch. This is only possible thanks to the expertise of the space scientists and engineers.
The launch of a spacecraft is carefully prepared and its trajectory is well-known before the launch. If the mission is in Earth’s vicinity then most likely will have a circular orbit, however satellites can also have elliptical orbits. The selection of the orbit depends on the mission requirements and objectives. Some of the popular options around the Earth are:

The figure above presents the height, orbital period, radius of the orbit, and the orbital speed of the different type of orbits. [1] Notice that the satellites closer to Earth travel faster than the satellites at greater distances.
Examples of popular launch sites around the world are Cape Canaveral (Florida, USA), Kourou (French Guiana), and Baikonur (Kazakhstan). After a satellite is launched and correctly placed in the right orbit, it is time for commissioning. The commissioning activities must test and verify that the spacecraft systems are functional for operations including the payload instruments. The link to the spacecraft is established from the control center via a ground station. When the link is established, the mission control center sends commands to the spacecraft and receives telemetry.
What is a simulation? A simulation is an imitation of the operation of a real-world system. A simulator requires a model be developed which represents the key characteristics, behaviors and functions of the selected physical or abstract system.
AstroMissions comes bundled with a satellite simulator that is very powerful. It includes an orbital mechanics engine that provides realistic spacecraft dynamics and payload instruments with enough accuracy.
The instruments in the satellite simulator can be started in a similar way to smartphone apps. Each instrument has different actions that can be executed and parameters to be analyzed. Each instrument can generate rich multimedia content that is unique to the mission.

The satellite simulator is flying in a Low Earth Orbit (LEO) around the Earth at an altitude of about 643 kilometers. At this altitude the orbital period is about 97 minutes, which is the time that the satellite takes to complete a full orbit.
The satellite simulator includes the following instruments:
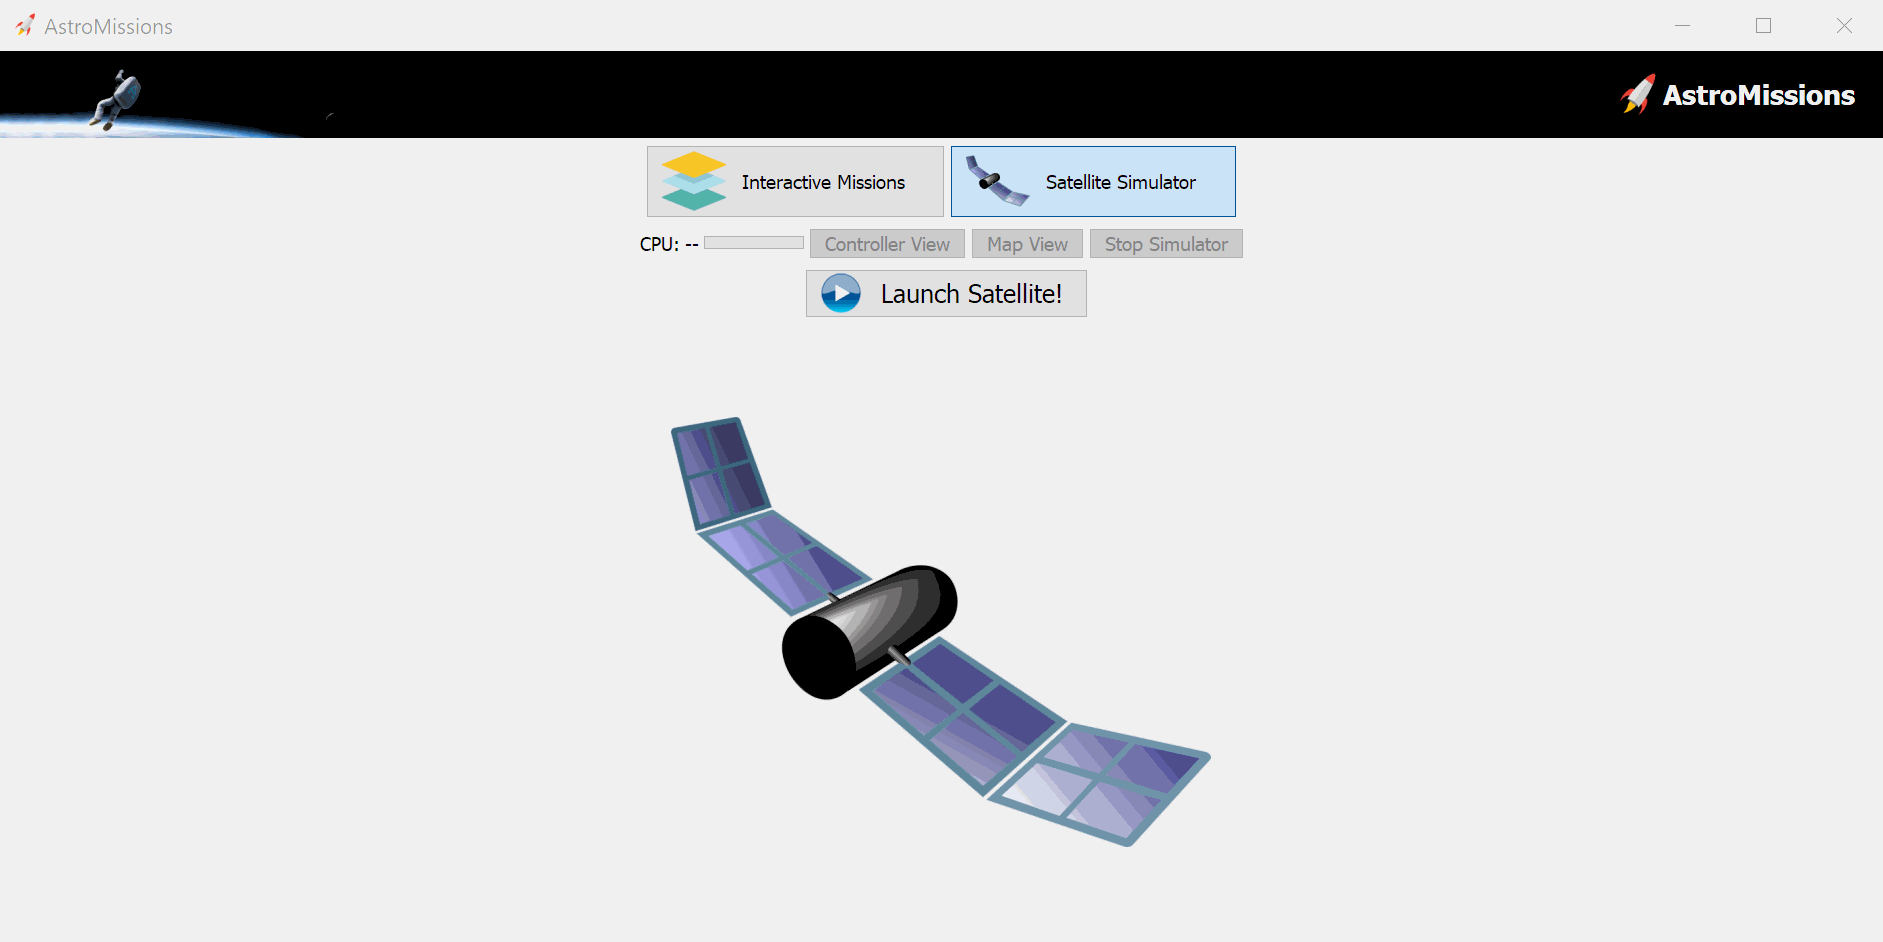
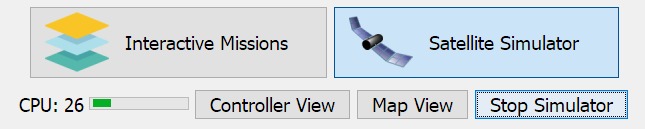
1. Go to the “Satellite Simulator” tab, next to the “Interactive Missions" tab and press “Launch!”:

After pressing the button, the satellite simulator will start and the text box below will show the output coming from the simulator. A progress bar will display the current CPU load.
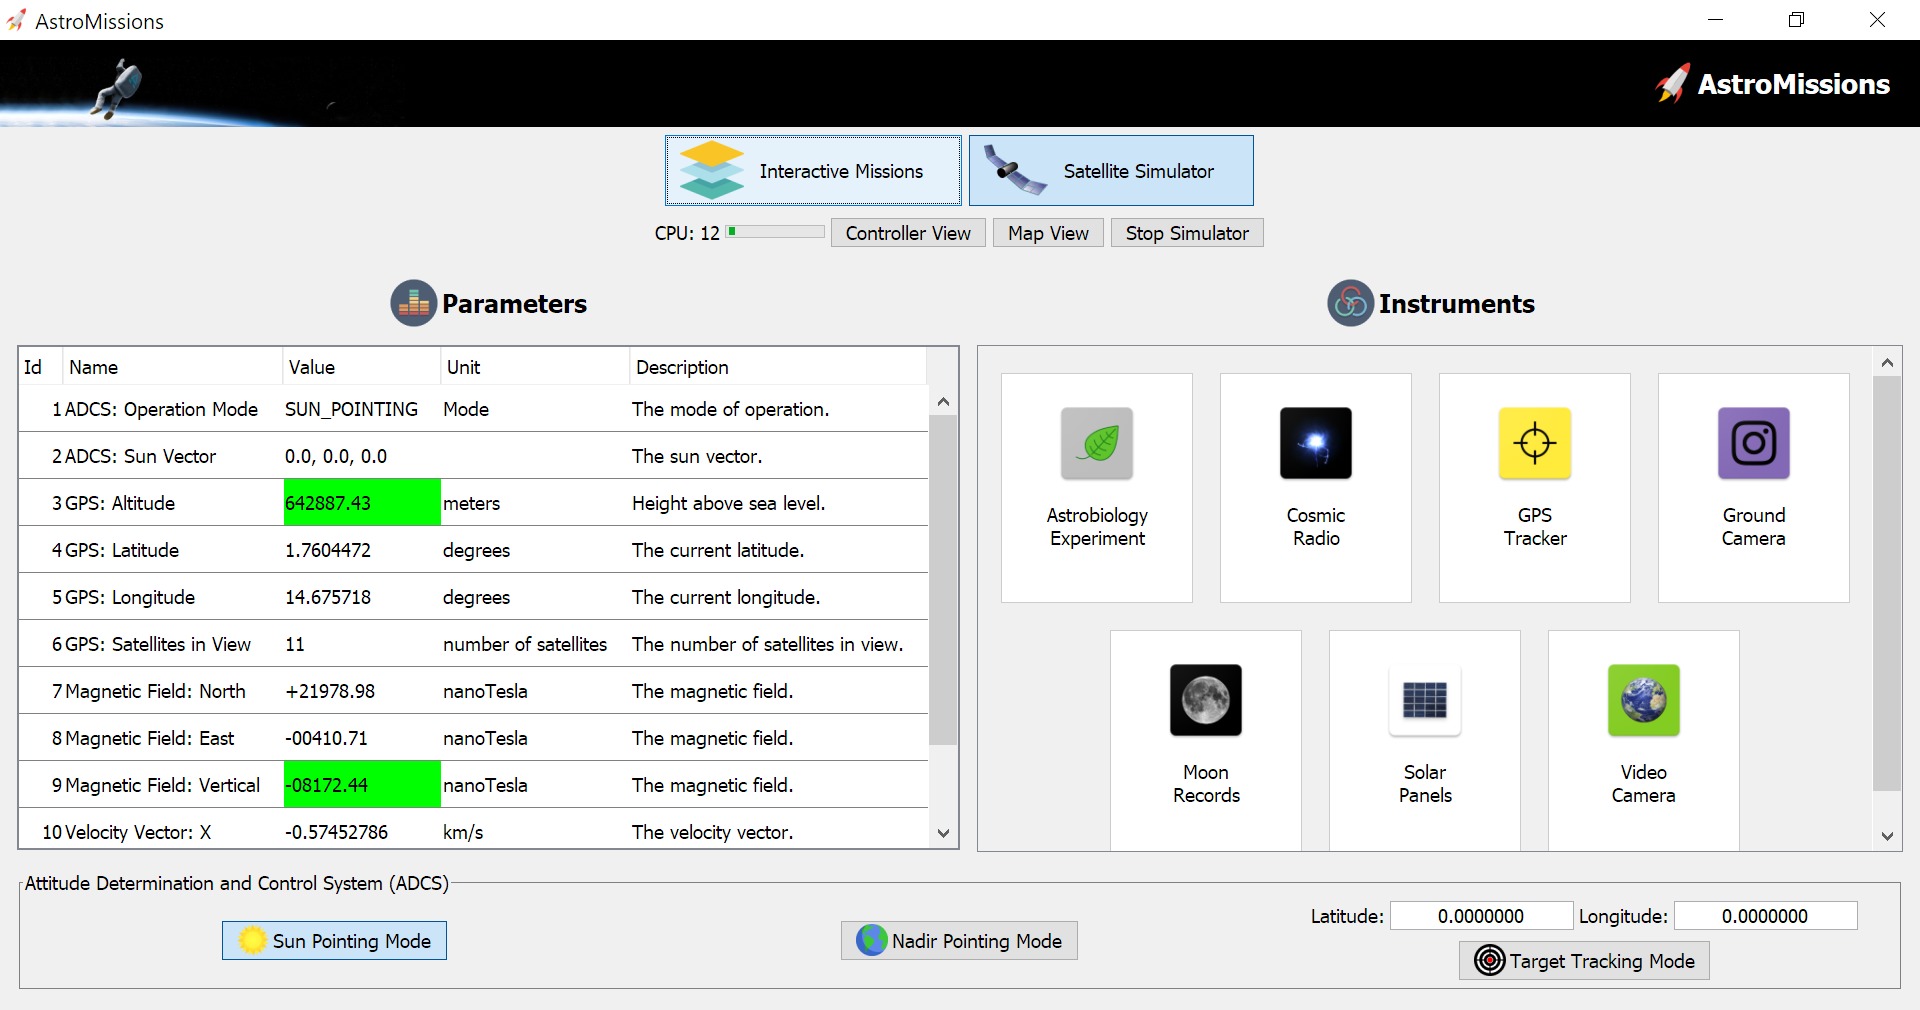
After the satellite simulator is started, 3 buttons below the “Launch Satellite!” button will become unlocked:
Additionally, three panels will appear on the Satellite Simulator:
What is the spacecraft attitude? Spacecraft attitude is the angular orientation of a spacecraft body vector with respect to an external reference frame. In short, the attitude of a spacecraft is its orientation in space.
Example of a satellite changing its attitude with thrusters:
The spacecraft attitude is usually controlled by instruments such as the AOCS (Attitude and Orbital Control System) or by a dedicated ADCS (Attitude Determination and Control System). These instruments are usually composed of reaction wheels which are able to rotate the spacecraft in three dimensions. Sometimes thrusters are used just as in the video above.
Our Satellite Simulator includes a dedicated panel for the ADCS instrument. This is because the ADCS instrument will be used by many different missions. The ADCS panel allows you to select the desired attitude for the spacecraft by simply clicking on the attitude button that you want.

The panel allows the selection of the following attitude modes:
To switch between the different modes, you just have to click on the desired attitude.
2. Open the Satellite Simulator Controller by clicking on the “Controller View” button on top:
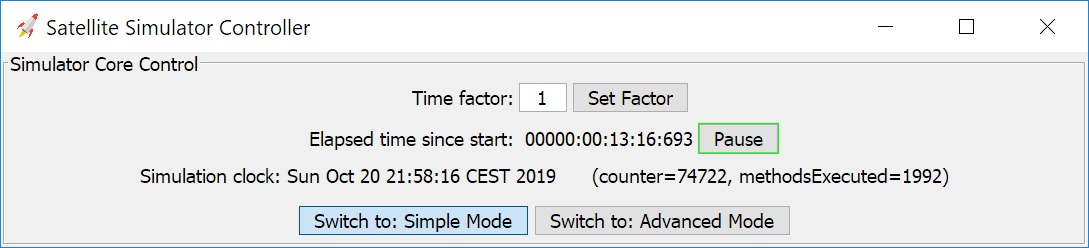
The Satellite Simulator Controller will open and switch automatically to Simple Mode. In this mode, one can check the simulation clock, change the simulation speed and/or pause it.
To change the simulation speed, one must change the value in the “Time factor” text box and then click the “Set Factor” button. For example, by changing it to 3, the time of the simulation will advance 3 times faster.

The satellite simulator is starting the simulation on the following date: 2019:10:20 20:45:00 CET
The simulation clock can be visualized on the top bar:

By switching to “Advanced Mode”, you can see additional parameters from the ADCS and the GPS. Additionally, there is the log from the console with some status messages.
3. Press the “Map View” button on the Satellite Simulator. A window with a Map will display:
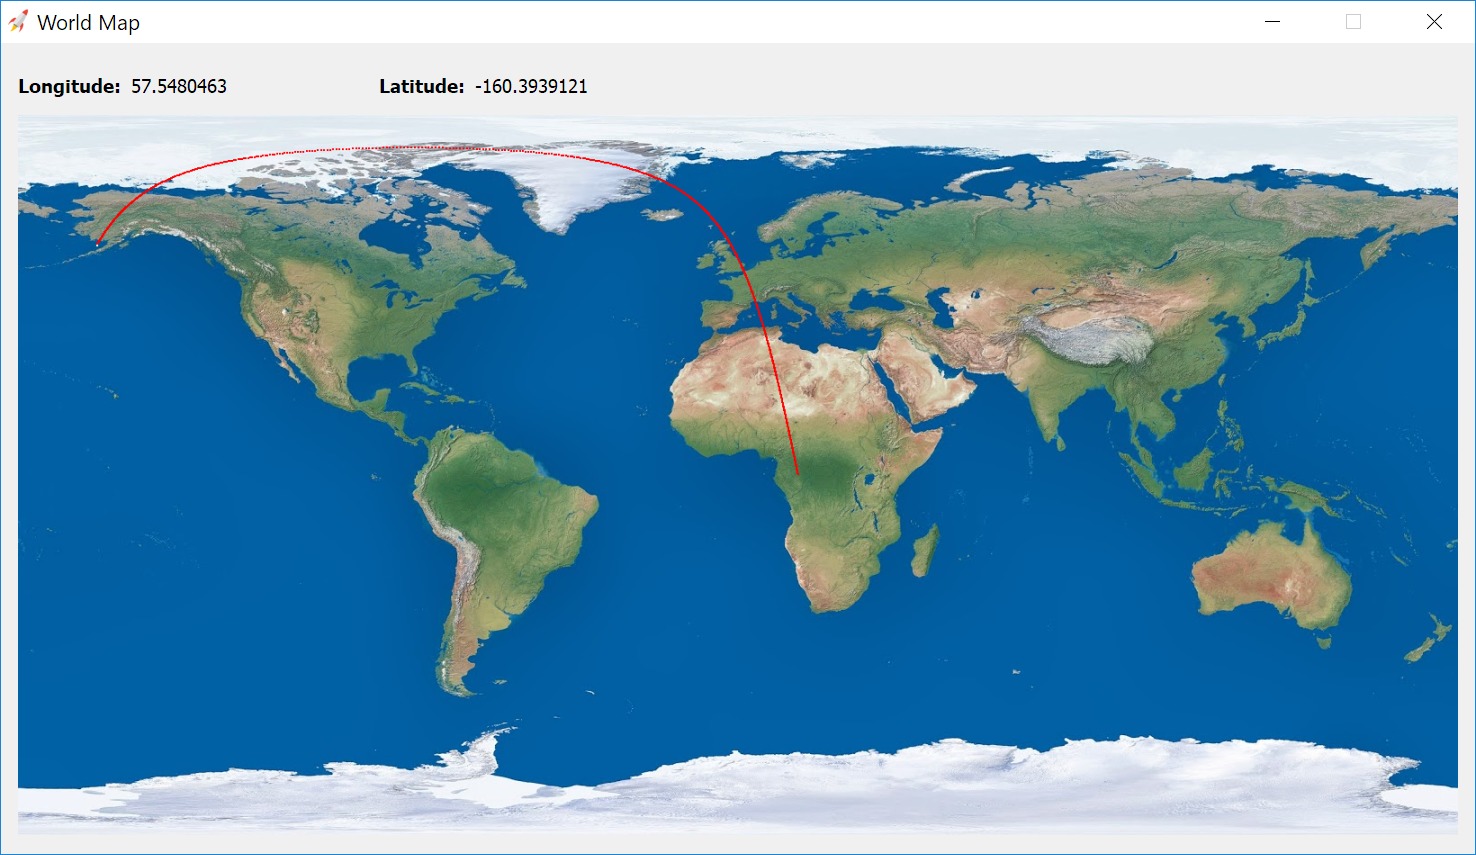
The satellite draws a red line of the path that traveled over on the map and we can also visualize a blinking white dot on the satellite’s current position.
Tip: You can zoom in and out of the map by using the scroll wheel.
4. Press the “Stop Simulator” button to stop the simulation:
What is "Scientific literacy" by Neil deGrasse Tyson:
Click here to recommend AstroMissions to your teacher and friends!
References:
[1] By Cmglee, Geo Swan [CC BY-SA 3.0 or GFDL], from Wikimedia Commons